Classic Dark Chocolate Moelleux
Step-by-step guide to French dark chocolate Lava cake
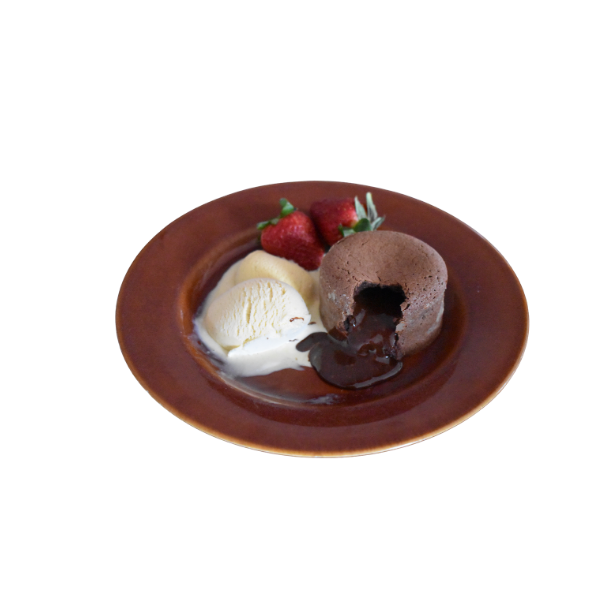
This dark chocolate lava cake delivers a deep cocoa aroma, a soft crumb, and a molten heart. Serve immediately with vanilla ice cream and/or red fruit for a warm-and-cold contrast that melts beautifully together.
Materials
Ingredients
Moelleux
- sugar 100 g
- dark chocolate - min 70% 100 g
- pastry flour 50 g
- butter 110 g
- whole eggs 2 pc
- egg yolks 2 pc
- pinch of salt 1 pc
For serving
- vanilla ice cream 160 g
- fresh red fruit 120 g
Directions
Preparing the batter

Gently melt the chocolate and butter
Place the dark chocolate and butter in a saucepan over low heat. Allow them to melt slowly, stirring gently until the mixture becomes smooth and glossy.


Whisk eggs and sugar
In a bowl, combine the whole eggs and egg yolks with the sugar. Whisk until slightly lighter in color and smooth.

Sift the flour
Sift the pastry flour directly over the egg mixture. Whisk gently until you achieve a smooth, lump-free batter.

Combine chocolate and batter
Pour the melted chocolate mixture into the batter. Add a pinch of salt and gently fold until fully incorporated.

Chill the batter
Transfer the batter into a pasty bag. Refrigerate for several hours until slightly firm.
This resting period helps create a better molten contrast during baking.
Into the oven

Preheat the oven
Preheat your oven to 210°C. Prepare your baking tray separately. High temperature ensures a crisp outer shell while keeping the center fluid.

Prepare the rings
Grease the inside of each metal ring with butter. Dust lightly with flour to create a thin protective coating. This ensures clean release after baking.

Position the rings
Place the rings on a baking tray lined with baking paper or a silicone mat.

Fill the rings
Cut the tip of the piping bag. Pipe batter into each ring, filling them about two-thirds full. The cakes will rise slightly during baking.

Bake to perfection
Serving

Unmold carefully
Place each ring in the center of a plate. Lift the metal ring carefully. If needed, run a small knife along the inside edge to release.
Serve immediately.

Serve warm
Serve warm with a scoop of vanilla ice cream and/or fresh red fruit. The contrast between warm, flowing chocolate and cold ice cream creates a beautiful gentle melt.
Frequently Asked Questions
How to store chocolate moelleux batter?
Store the unbaked batter in the refrigerator for up to 2 days in a sealed container or pastry bag.
FAQHow to freeze chocolate moelleux batter?
Pipe the batter into prepared rings, freeze solid, then store airtight for up to 1 month. Bake directly from frozen, adding 1-2 minutes baking time.
FAQWhy is my lava cake not molten inside?
It likely baked too long. Reduce baking time by 1 minute next attempt.
FAQWhy does my moelleux stick to the ring?
Insufficient greasing or flour coating. Ensure a full, thin protective layer.
FAQReviews
Please log in
You must be logged in to write a review.
Related Recipes
Search All Recipes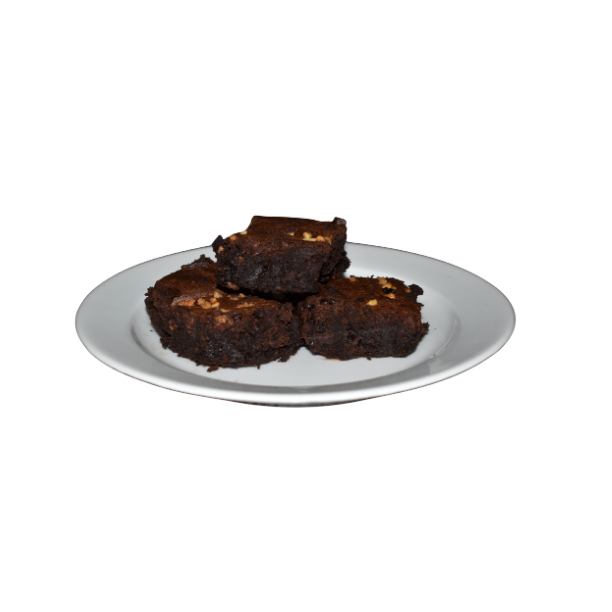 classic
Fudgy Brownies
These brownies are everything you dream of: a deep cocoa aroma and a delicate crisp top.
 classic
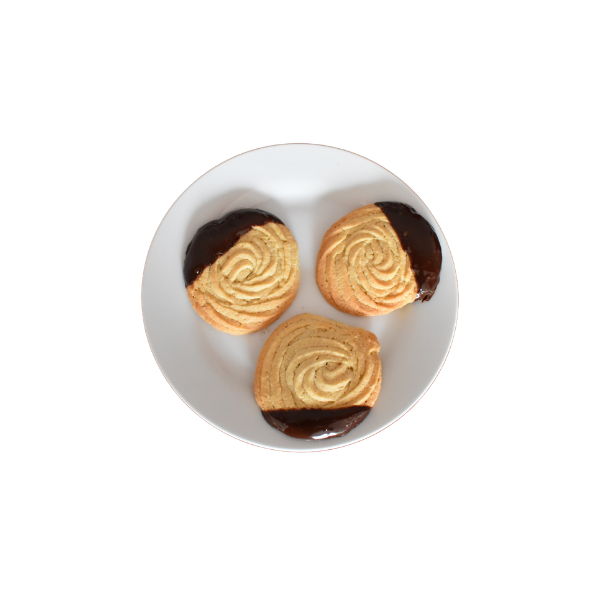
Sand cookies
These traditional sand cookies are dipped in ganache for a balanced finish.
 classic
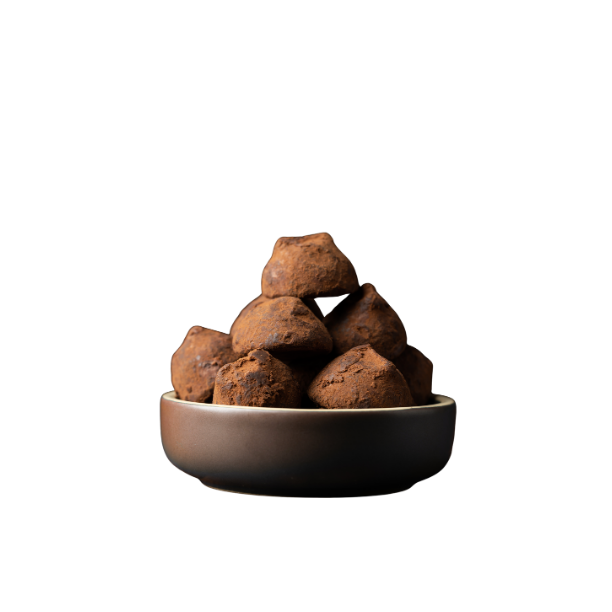
Chocolate truffles
Chocolate ganache truffles with hazelnuts & cognac
 classic
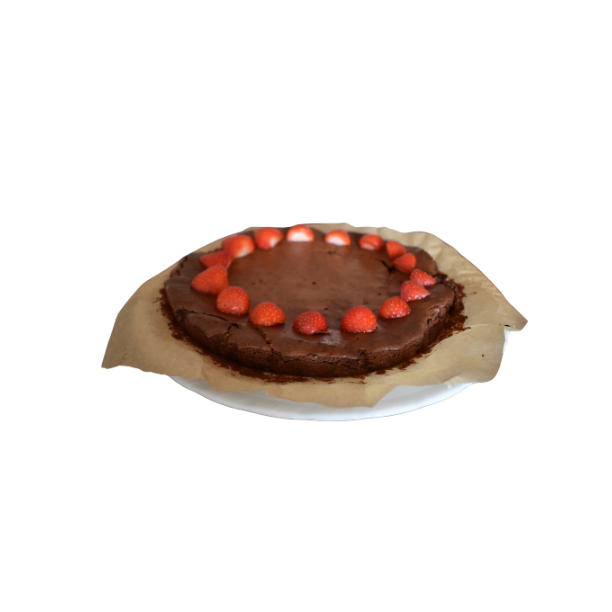
Brownie cake
A timeless chocolate brownie cake recipe with mascarpone strawberries
 classic
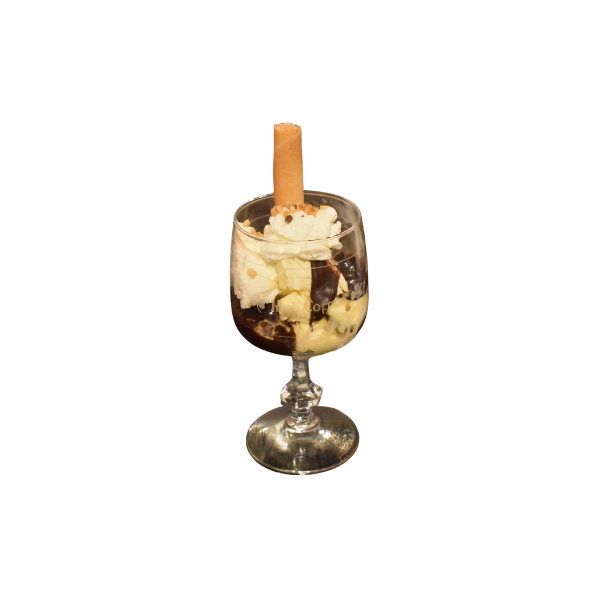
Dame Blanche
Creamy vanilla ice cream melting gently under a warm chocolate sauce.
 classic
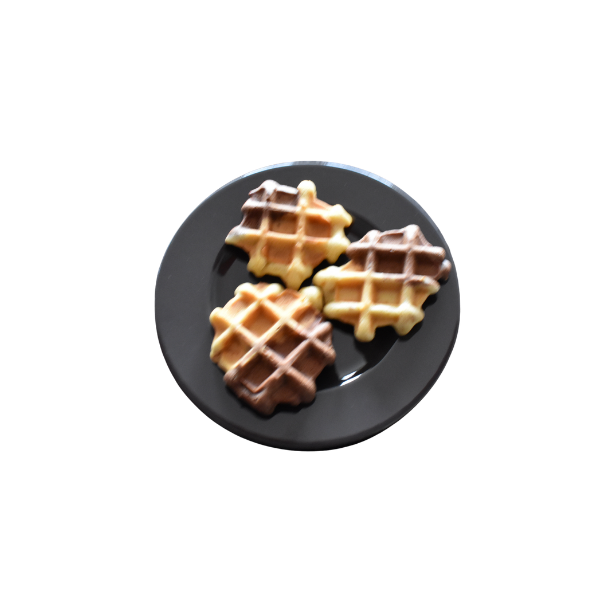
Marble waffles
Vanilla & chocolate marble waffles with a soft crumb and crisp finish.